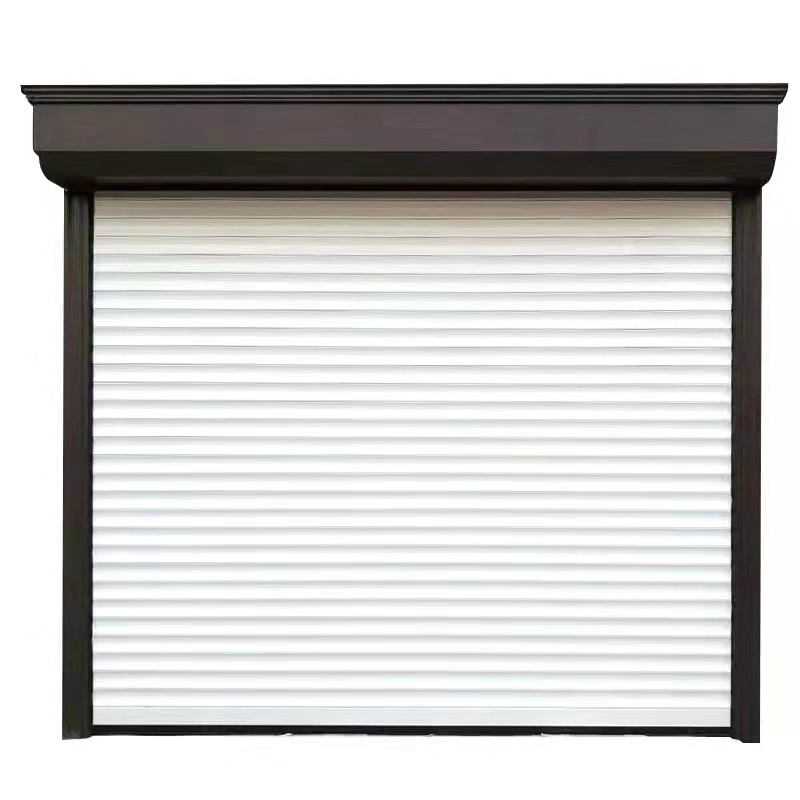
Sliding doors are becoming increasingly popular in modern home designs due to their space-saving and stylish features. Whether you want to install sliding doors for a wardrobe, patio or indoor room, it is crucial to understand the correct installation process. In this guide, we’ll walk you through the step-by-step process of how to install a sliding door, ensuring a seamless and durable finish.
1. Measure and Prepare: Before starting your sliding door installation project, it is crucial to accurately measure your door opening. This will help you determine the size of the door and track system you need. Additionally, clear the area around the door opening to provide ample space for assembly and installation.
2. Choose the right door and hardware: There are many types of sliding doors to choose from, including wood, glass, and mirrored options. Choose a door that complements your interior design and fits the size of the opening. Additionally, invest in quality sliding door hardware like tracks, rollers, and handles to ensure smooth operation and longevity.
3. Install the track system: Start by installing the track system at the top and bottom of the door opening. Use a level to ensure the rails are perfectly aligned and securely installed. Be sure to follow the manufacturer’s instructions for proper placement and spacing of track components.
4. Install the door panel: With the track system in place, carefully lift the door panel into place. Make sure the rollers on the door are aligned with the track and gently slide the door back and forth to test its movement. Make any necessary adjustments to ensure the door slides smoothly along the track.
5. Install handles and accessories: Once the door panel is in place, install the handles and any other accessories, such as soft-closing mechanisms or locks. Before proceeding to the final step, double-check that all parts are securely fastened and functioning properly.
6. Fine-tune and test: Before completing the installation, take the time to fine-tune the door and track alignment. Make any small adjustments to ensure the door opens and closes easily. Test the door several times to confirm that it operates smoothly and without any snags.
7. Sealing and Finishing: To complete the installation, apply sealant to the door edges and frame to prevent drafts and enhance the door’s insulating properties. This step is especially important for exterior sliding doors to protect them from the elements. Additionally, add any final touches such as embellishments or moldings to complete the polished look.
By following these steps, you can successfully install sliding doors in your home with confidence and accuracy. Whether you’re embarking on a DIY project or seeking professional help, proper installation is critical to the functionality and beauty of your sliding door. With the right tools and attention to detail, you can enjoy the convenience and elegance of sliding doors in your living space.
Post time: Dec-15-2023

